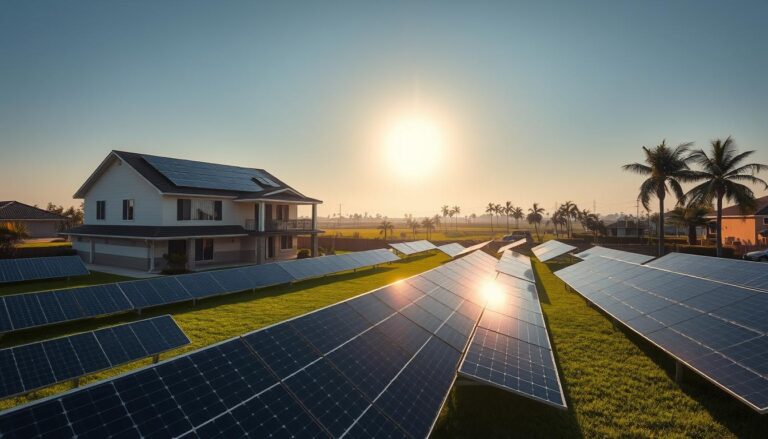
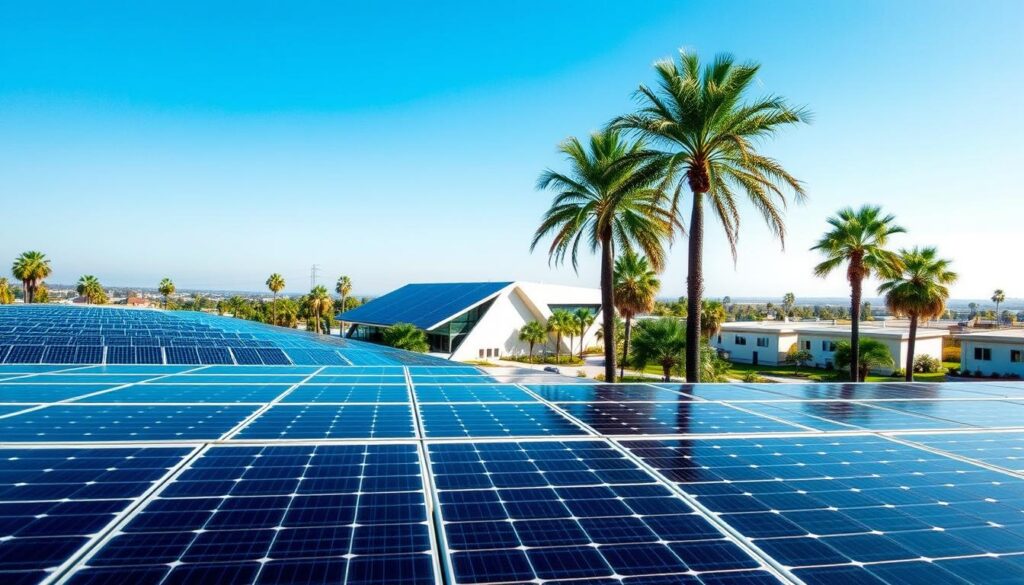
When homeowners in Tallahassee, Crestview, and Marianna decide to add solar panels, they often encounter a hidden challenge: the placement of roof vents. These small but essential components of a home’s ventilation system can dramatically influence the design and efficiency of a solar array. Understanding the roof vents solar layout impact is crucial for maximizing energy production, preserving warranty compliance, and avoiding costly re‑work. This guide walks you through the science, the practical considerations, and the proven strategies to ensure your solar installation performs at its best despite the inevitable roof obstructions.
Find us here:
Solar Cost Calculator – Florida Panhandle Only
* Estimate based on $3.25 per watt for solar installation.
* For Tesla Powerwall 3 Batteries, $15,000 for the first battery, $12,000 for each additional battery.
* Other variations and types of Batteries are available.
Why Roof Vent Placement Matters for Solar Installations
Roof vents serve to regulate temperature, moisture, and airflow in attics and crawl spaces. While they are indispensable for the health of a home, they also create physical barriers that can shade solar panels or interfere with mounting hardware. The roof vents solar layout impact becomes especially pronounced on sloped roofs where the angle of sunlight changes throughout the day. A vent positioned directly in the path of peak sun exposure can cast a shadow that reduces panel output by up to 30 percent, depending on the size and orientation of the vent.
Beyond shading, vents can affect the structural integrity of the mounting system. Many roof vents require flashing or a raised curb, which can limit the clearance needed for standard racking. Improper clearance may lead to micro‑cracks in the photovoltaic (PV) glass, accelerated wear, or even voided warranties. By carefully evaluating the roof vents solar layout impact early in the design phase, installers can select mounting solutions that accommodate vents without compromising panel stability.
Common Types of Roof Vents and Their Characteristics
Before diving into layout adjustments, it’s helpful to recognize the most common roof vent styles you’ll encounter in the Gulf Coast region. Each type presents unique challenges for solar panel placement.
- Static roof ventilators – simple, low‑profile vents that sit flush with the roof surface.
- Box vents (or turbine vents) – taller structures that spin with wind, often extending 12–18 inches above the roof.
- Ridge vents – continuous vents that run along the roof’s peak, providing uniform ventilation.
- Solar-powered attic fans – larger units that include their own photovoltaic cells, sometimes placed near the roof’s highest point.
Each vent type can create different shading patterns and mounting constraints. For example, static ventilators may only require a small clearance, while box vents often demand a larger mounting offset to avoid interference with the turbine’s moving parts. Understanding these nuances is essential for accurately assessing the roof vents solar layout impact.
Assessing the Roof Vents Solar Layout Impact
Professional solar designers use a combination of site surveys, drone imaging, and shading analysis software to quantify how vents affect potential panel placement. The process typically involves three steps:
- Identify and map all roof penetrations: Record the exact location, dimensions, and type of each vent.
- Model sun path and shading: Use tools like PV*SOL or Helioscope to simulate shadows throughout the year.
- Calculate energy loss: Estimate the percentage of power reduction caused by each vent’s shadow at various times of day.
By completing these steps, designers can determine whether a vent’s presence will have a negligible effect or a substantial roof vents solar layout impact that necessitates a redesign. In many cases, minor adjustments—such as shifting a panel row by a few feet—can recover lost efficiency without adding significant cost.
Key Metrics to Track
When evaluating the roof vents solar layout impact, pay attention to the following metrics:
- Shading percentage: The proportion of a panel’s surface area blocked by a vent during peak sun hours.
- Time‑weighted loss: How long each shading event lasts across the year, expressed in kWh.
- Mounting offset required: Additional distance needed between the vent and the panel to avoid physical contact.
Design Strategies to Mitigate Negative Effects
Once the roof vents solar layout impact is quantified, several design strategies can help preserve system performance:
- Panel relocation: Move panels away from the vent’s shadow path, even if it means a slightly less optimal tilt.
- Use of micro‑inverters or power optimizers: These devices allow each panel to operate at its maximum power point, reducing the overall loss caused by a shaded panel.
- Elevated mounting racks: Raising the racking height can clear the shadow zone, especially for taller box vents.
- Selective panel placement: Install higher‑efficiency panels (e.g., monocrystalline) in areas prone to shading, while using standard panels elsewhere.
- Custom mounting brackets: Fabricated brackets can route around vents without compromising structural integrity.
Each of these tactics addresses a different aspect of the roof vents solar layout impact. In practice, a combination of strategies often yields the best results, balancing cost, aesthetics, and energy output.
Case Studies: Real‑World Adjustments in Tallahassee, Crestview, and Marianna
To illustrate how the roof vents solar layout impact plays out in the field, let’s examine three recent installations across the Florida Panhandle.
Tallahassee – Historic Home with Multiple Box Vents
A 1930s bungalow in Tallahassee featured three large turbine vents on the south‑facing roof slope. Initial shading analysis showed a 22 % loss on the central panel row during summer afternoons. By raising the mounting system 4 inches and shifting the affected row 1.5 feet eastward, the installer eliminated the shadow entirely, preserving an estimated 3,200 kWh of annual production.
Crestview – New Construction with Ridge Vents
A new single‑family home in Crestview incorporated continuous ridge vents along the roof’s peak. Because ridge vents run the length of the roof, the roof vents solar layout impact was distributed evenly, resulting in a modest 5 % shading effect across the entire array. The design team opted for power optimizers on each panel, allowing the system to recover most of the lost output without altering the layout.
Marianna – Rural Farmhouse with Solar‑Powered Attic Fan
A farmhouse near Marianna installed a large solar‑powered attic fan near the roof’s highest point. The fan’s own PV cells occupied a 4 ft² area, but its mounting hardware cast a shadow that would have reduced nearby panels by up to 15 % during winter mornings. The solution was to use a custom L‑shaped bracket that positioned the panels 6 inches higher, clearing the fan’s shadow while keeping the aesthetic profile low.
These examples demonstrate that the roof vents solar layout impact can vary widely, yet thoughtful design choices can mitigate most issues. Whether you’re dealing with historic homes, new builds, or agricultural properties, a detailed site assessment is the first step toward an efficient solar system.
Practical Checklist for Homeowners
- Locate all roof vents and note their dimensions.
- Ask your installer to perform a shading analysis that includes seasonal sun paths.
- Confirm whether the proposed racking system clears each vent by at least the manufacturer’s recommended distance.
- Consider micro‑inverters or power optimizers if shading cannot be avoided.
- Review the warranty terms related to mounting near roof penetrations.
- Plan for future roof maintenance; ensure vents remain accessible after panel installation.
Cost Implications of Adjusting for Roof Vents
Adjusting a solar design to accommodate roof vents can add anywhere from $500 to $3,000 to a typical residential project, depending on the complexity of the solution. Elevating the racking system is usually the most cost‑effective option, while custom brackets or extensive re‑routing of panels can drive up labor expenses. However, the incremental cost is often outweighed by the long‑term energy gains. A 2 % increase in system efficiency can translate to an additional $200–$400 in annual savings, recouping the adjustment cost within 5–10 years.

Regulatory and Warranty Considerations
Local building codes in Tallahassee, Crestview, and Marianna may dictate minimum clearances between roof penetrations and exterior fixtures. Additionally, many solar panel manufacturers require that mounting hardware does not interfere with roof vents, otherwise the product warranty may be voided. Always verify that the installation plan respects both municipal regulations and warranty stipulations to avoid future disputes.
Future‑Proofing Your Solar Installation
As homes evolve, additional vents or roof modifications may be added. Selecting a flexible mounting system now can simplify future upgrades. For example, modular racking that allows panels to be repositioned with minimal effort can accommodate new vents without requiring a full system redesign. This forward‑thinking approach reduces long‑term maintenance costs and ensures that the roof vents solar layout impact remains manageable over the lifespan of the system.
| Design Option | Typical Cost Increase | Impact on Efficiency |
|---|---|---|
| Elevated racking (4–6 inches) | $500–$1,000 | +1–3 % |
| Custom brackets | $1,200–$2,500 | +2–5 % |
| Power optimizers | $2,000–$3,000 | +3–7 % |
Key Takeaways
Understanding the roof vents solar layout impact is essential for any homeowner looking to maximize the return on a solar investment. By conducting a thorough site survey, leveraging shading analysis tools, and selecting appropriate mounting strategies, you can mitigate the effects of vents on panel performance. Whether you’re in Tallahassee, Crestview, or Marianna, the principles remain the same: plan early, communicate with your installer, and choose flexible solutions that respect both code and warranty requirements.
With careful attention to vent placement and thoughtful design adjustments, you can enjoy a clean, efficient, and durable solar system that delivers optimal energy output for years to come.