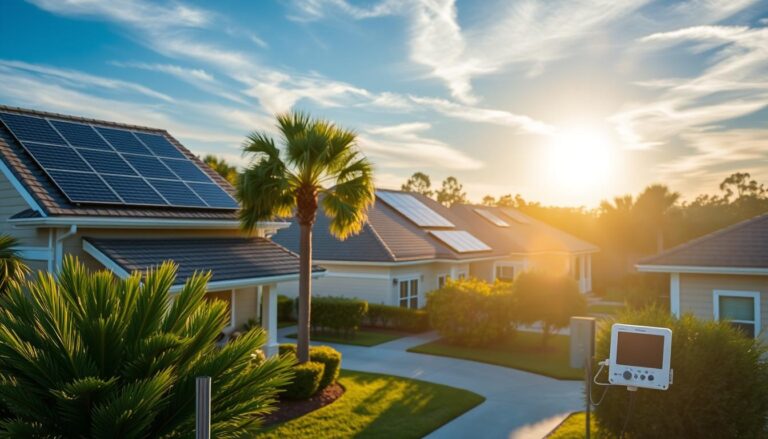
Why a Thermal Camera Test Matters for Solar Installations in Niceville
Solar owners in Niceville often hear the term “hot‑spot” but may not understand how it can affect the performance and longevity of their system. A hot‑spot occurs when a portion of a photovoltaic (PV) panel becomes significantly hotter than the surrounding cells, usually because of shading, a defective bypass diode, or a manufacturing flaw.
Over time, that excess heat can degrade the solar cells, cause permanent damage, and reduce the overall energy yield. Performing a quick thermal camera hot spot solar niceville scan on a weekend can reveal these problems before they become costly repairs. The process is safe, inexpensive, and can be completed by a homeowner with a basic understanding of thermal imaging and a bit of preparation.
Solar Cost Calculator – Florida Panhandle Only
* Estimate based on $3.25 per watt for solar installation.
* For Tesla Powerwall 3 Batteries, $15,000 for the first battery, $12,000 for each additional battery.
* Other variations and types of Batteries are available.
Understanding Hot‑Spots: The Science Behind the Heat
A solar panel is made up of many cells wired together in series and parallel configurations. When all cells receive uniform sunlight, they produce a consistent voltage and current. However, if a single cell or a group of cells is shaded, dirty, or has a failed bypass diode, that portion cannot contribute to the circuit. The current forced through the shaded cells creates resistance, which in turn generates heat—this is the hot‑spot.
The thermal signature of a hot‑spot is usually a bright red or orange spot on a thermal image, standing out against the cooler background of healthy cells. Detecting these anomalies early allows you to address the root cause, whether it’s trimming overhanging branches, cleaning the panel surface, or replacing a faulty module.
Common Causes of Hot‑Spots in Niceville Installations
- Partial shading from trees, awnings, or nearby structures.
- Accumulation of dust, bird droppings, or pollen.
- Failed or aging bypass diodes that no longer protect the circuit.
- Physical damage such as cracks or delamination.
- Improper installation causing uneven torque on mounting hardware.
Each of these issues can be identified with a thermal camera, but the key is knowing how to interpret the thermal image correctly. A bright spot that aligns with a shaded area is usually a shading problem, whereas a hotspot that appears in the middle of an otherwise clean panel often points to a diode failure. In Niceville’s humid subtropical climate, moisture can accelerate diode degradation, making regular thermal checks especially important.
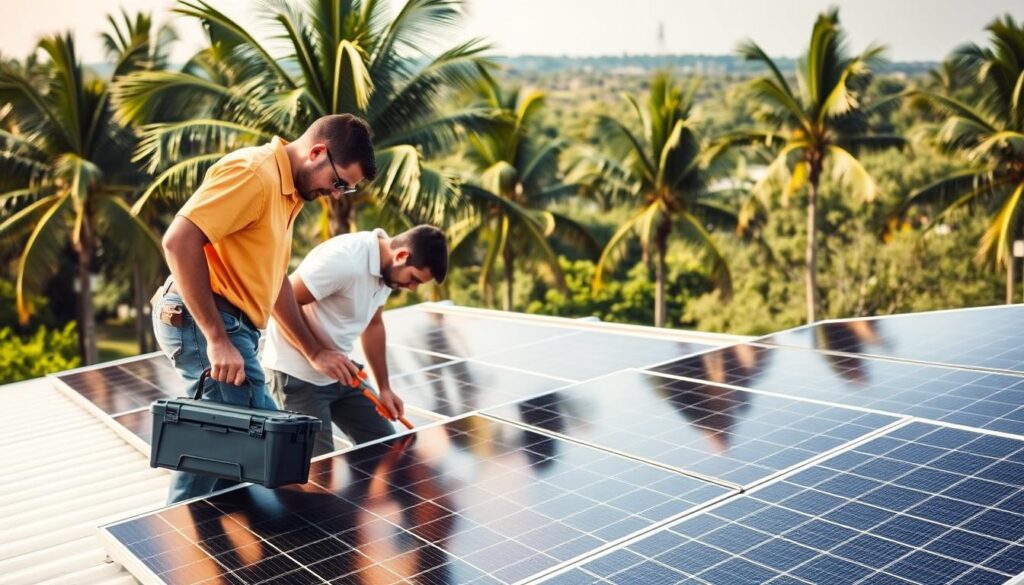
Preparing for Your DIY Weekend Thermal Scan
Before you head out with your thermal camera, gather the necessary equipment and plan a safe workflow. The following checklist will help you stay organized and ensure that you capture accurate data. Remember, safety is paramount: work on a clear, dry day, use proper fall protection if you need to climb a roof, and always follow local electrical codes when handling live equipment.
| Item | Purpose |
|---|---|
| Thermal Camera (≥ 320×240 resolution) | Capture temperature differentials on the PV array. |
| Smartphone or tablet | Review images on‑site and annotate hotspots. |
| Non‑conductive ladder | Reach higher panels safely. |
| Safety harness and lanyard | Prevent falls when working on steep roofs. |
| Notebook or digital log | Record panel IDs, temperature readings, and observations. |
Most modern thermal cameras connect via Wi‑Fi or Bluetooth to a mobile device, allowing you to view live temperature readings in real time. For the best results, choose a camera with at least 0.1°C thermal sensitivity and a temperature range that exceeds the maximum expected surface temperature of your panels (typically up to 80°C in full sun). Calibration is simple: follow the manufacturer’s instructions, and perform a quick “blackbody” reference check before you start scanning.
Choosing the Right Time of Day
The ideal window for a thermal scan is either shortly after sunrise or just before sunset. During these periods, the sun’s angle creates a clear contrast between illuminated and shaded sections of the array, making hot‑spots easier to spot. Mid‑day scans can still work, but the overall panel temperature may be uniformly high, reducing the contrast needed for accurate detection. In Niceville, sunrise typically occurs around 6:30 am in the summer and 7:15 am in the winter, providing ample flexibility for a weekend test.
Step‑by‑Step Guide to Conducting the Thermal Scan
Follow these nine steps to perform a thorough thermal camera hot spot solar niceville inspection. Each step includes safety tips, suggested settings, and what to look for in the thermal image.
- 1. Safety First: Put on your harness, secure the ladder, and ensure the area is clear of debris.
- 2. Power Down (Optional): For added safety, you may choose to disconnect the inverter. This is not required for thermal imaging but can give you peace of mind.
- 3. Set Camera Emissivity: Adjust the emissivity setting to 0.95, which is appropriate for glass‑coated solar panels.
- 4. Warm‑Up the Camera: Allow the camera to acclimate to the outdoor temperature for at least five minutes.
- 5. Capture Baseline Images: Take a thermal picture of a fully illuminated, unobstructed panel as a reference.
- 6. Scan Row by Row: Move systematically across the array, pausing for a few seconds at each panel to let the camera stabilize.
- 7. Identify Hot‑Spots: Look for red or orange blobs that exceed the surrounding temperature by more than 10°C.
- 8. Record Data: Note the panel’s serial number, the exact temperature reading, and the suspected cause.
- 9. Review and Plan Action: After the scan, compare the hotspots with shading maps or recent maintenance logs to decide on cleaning, trimming, or replacement.
When you notice a hotspot, zoom in on the image and use the camera’s spot‑meter to obtain a precise temperature reading. Compare this temperature to the ambient air temperature (displayed on the camera or measured with a handheld thermometer). A difference greater than 10°C is a strong indicator of a problem that warrants further investigation.
Interpreting the Thermal Image
Thermal images are color‑coded, with cooler areas appearing in blues and purples, and hotter zones in reds and whites. A healthy solar panel under uniform sunlight typically shows a consistent temperature across the surface, perhaps varying by only a couple of degrees due to manufacturing tolerances. A hotspot will break this uniformity, creating a distinct, localized hot zone. If the hotspot aligns with a known shade source—like a tree branch—it’s likely a shading issue. If the hotspot appears without any external shade, consider a bypass diode failure or an internal defect.
Remediation Options After Detecting a Hot‑Spot
Once you have identified the problematic panels, you have several remediation paths. The best approach depends on the root cause, the age of the system, and your budget. Below are the most common solutions for Niceville homeowners.
- Shade Management: Trim or remove overhanging branches, install anti‑shade screens, or reposition the array if feasible.
- Panel Cleaning: Use a soft brush and mild detergent to remove dust, bird droppings, or pollen that may be causing localized heating.
- Bypass Diode Replacement: If a diode has failed, the panel may need to be serviced by a qualified technician. This usually involves disconnecting the panel, removing the encapsulant, and soldering a new diode.
- Panel Replacement: For older or severely damaged panels, replacement may be more cost‑effective than repair.
- Warranty Claim: Many manufacturers cover defective bypass diodes under warranty for up to 10 years. Document your thermal findings and submit them with the warranty paperwork.
Documenting the temperature readings and photographic evidence is crucial when filing a warranty claim. Most manufacturers request a thermal image showing the hotspot, the ambient temperature, and a description of the observed condition. A well‑organized log will speed up the approval process and reduce downtime.
Maintaining a Healthy Solar System in Niceville
Regular maintenance helps prevent hot‑spots from forming in the first place. In Niceville’s humid environment, panels can accumulate moisture and biological growth more quickly than in arid regions. A quarterly visual inspection combined with an annual thermal scan keeps your system operating at peak efficiency. Consider setting a calendar reminder for the first weekend of each season to perform a quick visual check, followed by a thermal scan if you notice any new shading or discoloration.
In addition to physical inspections, monitor your inverter’s performance data. Most modern inverters provide real‑time output metrics and can alert you to a sudden drop in power, which may indicate an emerging hotspot. Pairing inverter data with thermal imaging gives you a powerful diagnostic toolkit that can catch issues early and extend the life of your solar investment.
Tools and Resources for Ongoing Monitoring
- Inverter monitoring app (e.g., SolarEdge, Enphase Enlighten).
- Weather station for local temperature and irradiance data.
- Mobile thermal camera app for quick spot checks.
- Shade analysis software to model seasonal sun paths.
Integrating these tools into a simple maintenance routine ensures you stay ahead of potential problems. For example, if the inverter reports a 5% drop in output during a sunny day, schedule a thermal scan within the next 48 hours. This proactive approach minimizes downtime and protects your return on investment.
Cost Considerations and Return on Investment
Investing in a thermal camera may seem like an additional expense, but the cost is quickly offset by the savings from avoided panel failures and improved energy production. Entry‑level thermal cameras suitable for DIY homeowners range from $200 to $500. When you compare that to the potential cost of replacing a single 300 W panel—often $250 to $350 plus labor—the ROI becomes clear. Moreover, catching a bypass diode failure early can prevent cascading damage to adjacent cells, preserving the overall health of the array.
In Niceville, the average residential solar system produces roughly 1,200 kWh per year per 10 kW installed. A 5% loss due to undetected hot‑spots translates to about 60 kWh of lost energy, which at a typical utility rate of $0.13/kWh equals $7.80 per year. While that number alone may not justify the purchase, the cumulative effect over multiple panels and years, combined with avoided repair costs, makes the thermal camera a smart investment for diligent homeowners.
Frequently Asked Questions About DIY Thermal Scans
Do I need to turn off the inverter before scanning?
Not required, but you may choose to for added safety and peace of mind. A thermal scan is external and non-contact, so it can be done while the system is operating normally.
Can a handheld infrared thermometer replace a thermal camera?
It can measure point temperatures but cannot visualise the entire panel surface. Because hot-spots are often small and localised, a full thermal image is far more reliable for accurate diagnosis.
How often should I perform a thermal scan?
At least once a year, or after any major storm, hurricane, or roofing maintenance. In Niceville, where humidity, pollen, and coastal debris are common, seasonal scans (two to four times a year) offer even better protection.
Do thermal scans void my system warranty?
No — thermal imaging is a non-intrusive diagnostic tool. In fact, many manufacturers encourage using thermal images when submitting warranty claims for defective modules or bypass diodes.
Can I perform a thermal scan on a cloudy day?
It’s possible, but not ideal. You need direct sunlight to create strong thermal contrast between healthy and problematic cells. Choose a sunny morning or late afternoon for best results.
What temperature difference indicates a problem?
A hot-spot that is 10°C or more above the surrounding cell temperature typically signals an issue worth investigating. Some minor variations are normal—large deltas are not.
Can shading from chimneys or antennas cause permanent hot-spots?
Yes. Repeated shading of the same cell string can stress the bypass diode and eventually cause it to fail. Even intermittent shading should be addressed quickly.
Is drone thermal imaging better than handheld scanning?
Drones offer excellent visibility and safety benefits, especially for multi-story roofs, but they are not required. A homeowner using a handheld or smartphone-integrated thermal camera can still capture high-quality results for a typical Niceville residential array.
Can thermal scans detect issues other than hot-spots?
Yes. Thermal imaging can also reveal:
- Uneven string output
- Wiring faults
- Loose connections causing resistive heating
- Delamination forming “warm patches”
- PID (Potential-Induced Degradation) symptoms
While not every defect is thermally visible, hot-spot behaviour often leads to other electrical insights.
The Bottom Line: Protecting Your Solar Investment in Niceville
A thermal camera test is one of the simplest, most cost-effective ways for Niceville homeowners to protect their solar system’s performance. With just an hour on a weekend, you can identify hidden issues long before they turn into expensive failures. Hot-spots don’t just reduce output—they shorten panel life, strain bypass diodes, and can void performance guarantees if left unaddressed.
By pairing annual thermal scans with regular cleaning, shade management, and inverter monitoring, you’ll keep your solar array running cooler, safer, and more efficiently year-round.
Whether you’re a DIY-minded homeowner or simply want peace of mind, a thermal camera hot spot solar Niceville test is a powerful diagnostic tool — and one that pays for itself over time.